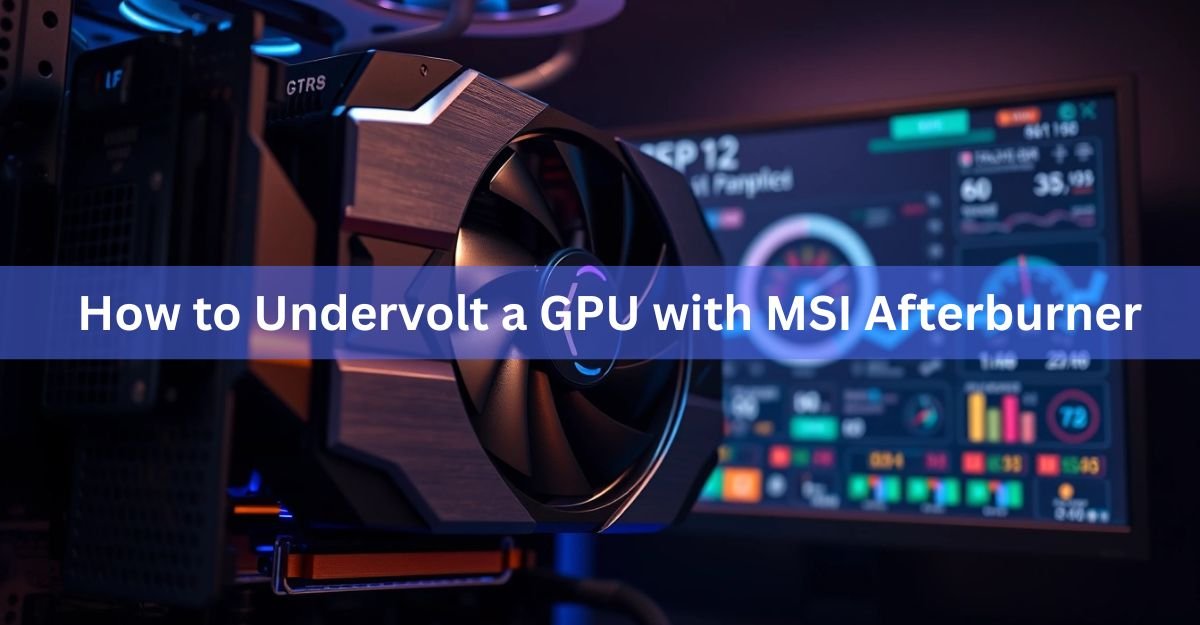
Undervolting means telling your graphics card to hit its normal clock speed at a lower voltage. You do it in MSI Afterburner’s voltage curve editor, and the payoff is a cooler, quieter card that pulls less power while running your games at the same frame rate. Sometimes it even runs a touch faster, because a cooler chip holds its boost clock for longer.
This guide walks you through the whole thing: what to install, the exact curve editor steps, a safe voltage to start from, how to test that your setting is stable, and how to fix the few problems that pop up. It works for modern NVIDIA (RTX 40 and 50 series) and, with a small tweak, for AMD cards too.
What undervolting actually does
Every graphics card runs on a voltage/frequency curve. At each voltage level, the chip is allowed to reach a certain clock speed. The factory sets this curve on the safe side so that even the weakest chip in a production batch stays stable in every workload. That means most cards get fed more voltage than they actually need to hit their rated speed.
Extra voltage does not buy you extra frames. It just turns into heat, fan noise and power draw. Undervolting strips that waste away. You pick a lower voltage, tell the card to still reach its usual clock there, and cap it so it cannot climb back up to the higher, hotter voltages.
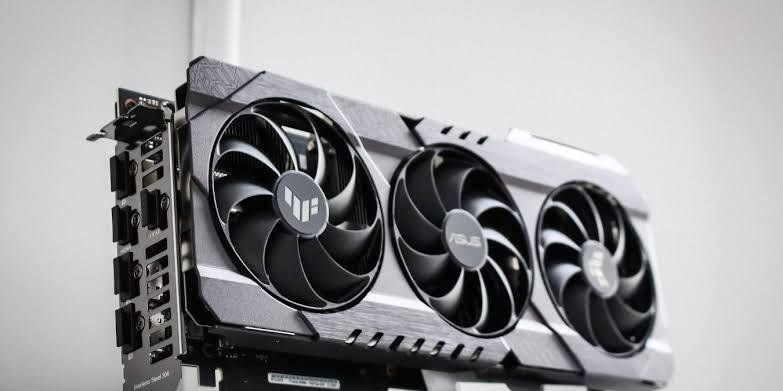
On a typical mid-range or high-end card you can expect temperatures to drop by around 5 to 15 degrees Celsius, quieter fans, and power savings that often run 30 to 80 watts, all while your average FPS stays flat.
The gains are biggest on cards that run hot or loud at stock, and on anything thermally boxed in. A high-end card in a small case, a gaming laptop, or a rig in a warm room all benefit the most, because those are exactly the situations where heat forces the card to throttle its own clocks. Cool the chip down and it stops backing off, so in long sessions an undervolted card can actually post better sustained frame rates than it did at stock.
Is undervolting safe?
Yes. You are lowering voltage, not raising it, so there is no risk of cooking your hardware the way an aggressive overclock can. The worst thing that happens if you go too low is a driver crash or a game that closes itself. You reboot, dial the voltage back up a little, and carry on. Nothing is damaged.
Because the downside is so mild, undervolting is one of the most worthwhile tweaks you can make, especially in a small case, a warm room, or a gaming laptop where heat limits how long the card can hold its top speed.
What you need before you start
Gather three things first. It takes about ten minutes to set up and saves a lot of guesswork later.
- MSI Afterburner. The free tuning tool. Download it only from the official MSI Afterburner page, since fake installers exist. It comes bundled with RivaTuner Statistics Server, which handles the on-screen readouts.
- A stress test. Something that pushes the GPU hard for a sustained stretch, such as FurMark, 3DMark Time Spy, or Unigine Heaven. Your hardest game works too.
- Your baseline numbers. Before changing anything, note what your card does at stock.
To grab your baseline, open Afterburner, run your stress test for about five minutes, and write down four values from the main window: GPU clock, memory clock, voltage, and temperature. Also note your average FPS. In Afterburner’s settings, tick Unlock voltage control and Unlock voltage monitoring so the voltage readings and curve editor become available, then restart the app when it asks.
The curve editor method (recommended)
This is the method that gives the best results, because you set an exact voltage ceiling instead of a rough power cap. Have your stress test running in a small window in the background so you can watch the effect live. Here is the full process.
- Open the curve editor. In Afterburner’s main window, press Ctrl+F. You will see a graph of squares, each one a clock speed at a given voltage. The dotted vertical line shows where your card currently sits.
- Find your target voltage. Look at the voltage your card hit under load in your baseline (often around 1000 to 1050mV). You want to hold your normal clock at a lower voltage than that. Around 900mV is a safe, widely used starting point for NVIDIA cards.
- Raise the point. Click the square that sits at 900mV and drag it up until its clock matches the boost clock your card reached at stock. On many RTX 50 cards, that lands somewhere around 2700 to 2850 MHz. Do not chase a higher number yet.
- Flatten the curve to the right. This is the step most people miss. Hold Shift, select every point to the right of your 900mV point, and drag them down so the line stays flat past that voltage. Pressing Shift+Enter twice also flattens it. Flattening is what caps the card so it cannot boost back to a higher voltage.
- Apply. Click the checkmark (Apply). Your card will now try to hold that clock at 900mV and refuse to go higher on voltage.
- Save the profile. Click the floppy-disk icon and pick a profile slot (1 to 5) so you do not lose your work. Turn on Apply at Windows Startup so the setting loads every boot.
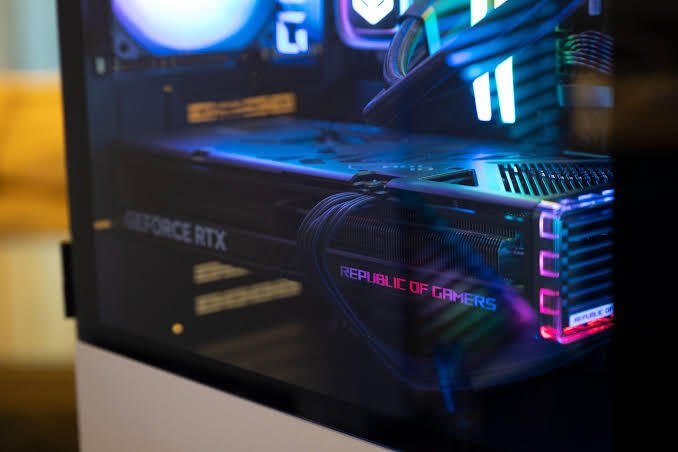
Tip: If the curve will not flatten when you press Shift+Enter twice, double-click an empty spot to clear your selection, then reselect a little further past the point and try again.
Why this works: by pinning your normal clock to a 900mV point and flattening everything past it, you have told the card that 900mV is its ceiling. It can still drop lower at idle to save power, but under load it holds your clock at that voltage instead of ramping up to 1050mV like it did at stock. Same speed, less heat.
A couple of small tips make the editing easier. Drag a corner of the curve editor window to make it bigger, so the points are simpler to grab. And if you want to move a point precisely, click it and use the arrow keys, since Ctrl plus up or down shifts it by ten steps at a time.
The power limit slider method (quick and easy)
If the curve editor feels fiddly, there is a simpler route. It is slightly less precise but takes seconds and needs no trial-and-error with the graph.
- Reset first. In the main window, make sure Power Limit and Core Voltage are at their default values, then click Apply.
- Lower the power limit. Drag the Power Limit slider down. Start around 80 to 90 percent, hit Apply, and test. Step down in 5 percent chunks.
- Find your balance. Watch your FPS and power draw. When frames start to drop noticeably, you have gone too far, so nudge it back up one step. Save the profile.
This works because a lower power ceiling forces the card to run at less voltage to stay inside its budget. You will not fine-tune it as tightly as the curve method, but for a fast win it is hard to beat. It is also a good first move if you just want cooler temps with zero fuss, and you can always graduate to the curve editor later once you are comfortable.
Safe starting voltages to aim for
There is no single magic number, because chip quality varies from card to card. That variation is exactly why the setting exists. Treat every value below as a place to start, not a setting to copy blindly, and always confirm it with a stress test on your own card. A big drop straight from 1050mV to 800mV is a recipe for instant crashes, so start with a modest 50 to 75mV reduction and go deeper in 25mV steps once each one holds.
| Card type | Voltage to start | Typical clock target |
|---|---|---|
| NVIDIA RTX 40 series | 875 to 925 mV | Match your stock boost |
| NVIDIA RTX 50 series | 900 to 950 mV | ~2700 to 2850 MHz |
| AMD RX 9000 (Adrenalin) | -40 mV offset to start | Step toward -80 to -100 mV |
AMD owners have it easier, since voltage control lives right inside AMD Software: Adrenalin Edition. Press Alt+R, go to Performance then Tuning, set Tuning Control to Custom, and apply a small negative voltage offset across the whole curve instead of editing points one by one.
Want a little more? Undervolt and overclock together
Once you have a stable undervolt, you can push it one step further and reclaim some of that thermal headroom as extra speed. The idea is simple: hold a slightly higher clock at the same low voltage. Instead of pinning 2800 MHz at 900mV, you might aim for 2850 or 2900 MHz at that same 900mV point.
Do it in small moves. Raise your target point by 15 to 30 MHz, apply, and run your stress test again. If it stays clean, nudge it up once more. The moment you see artifacts or a crash, drop back to the last stable step. You can also add a small bump to the memory clock, in 50 to 100 MHz steps, testing each one. This gives you a card that is cooler than stock and a touch faster at the same time, which is the best of both worlds.
If you would rather let software do the searching, Afterburner’s built-in OC Scanner runs an automatic scan that builds a custom curve for you in about half an hour. It is a solid starting curve to then undervolt from, though hand-tuning usually squeezes out a bit more.
How to test that your undervolt is stable
A setting that survives a light game is not proven. You need to hammer the card and watch for trouble. Run your stress test for at least 10 minutes after each change, then play your most demanding game for a while.
Watch for these signs that you have gone too low:
The game or your whole PC crashes, or the screen goes black.
Flickering textures, colored specks or artifacts on screen.
Stutters, or noticeably worse 1% lows even if the average FPS looks fine.
If any of that shows up, raise your voltage point by 15 to 30mV, apply, save, and test again. Keep in mind some instability only appears after 30 minutes or more of sustained heat, so a longer session in a heavy game is the real test. Once you have a setting that stays clean, give it a tiny bit of extra voltage as a safety margin for long-term reliability.
Tip: A common rookie trap: an undervolt that is rock-solid in one game can crash in another. Always validate with the hardest thing you actually play, not a light title.
Fixing common problems
A few issues come up again and again. Here is how to sort them.
Temperatures did not drop. You probably moved a single point but forgot to flatten the curve to the right of it. Go back into the editor and make sure the line is flat past your target voltage, so the card cannot spike back up.
Monitoring shows a different voltage than you set. This is usually normal. Tools like GPU-Z or HWiNFO report the card’s live boost behavior within the ceiling you set, not a fixed locked number. As long as it stays at or below your target under load, you are fine.
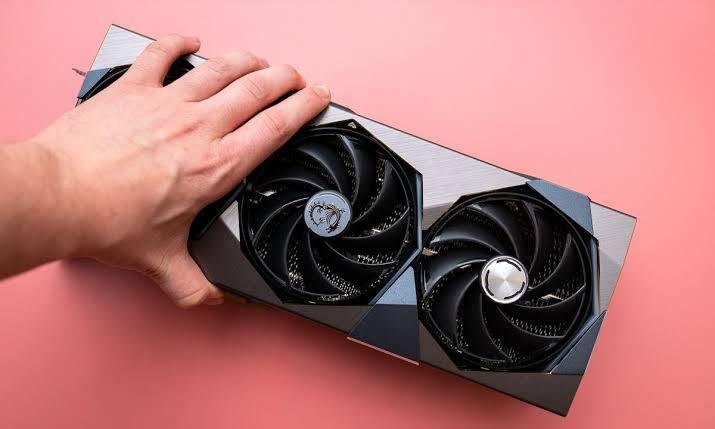
Some cards barely respond. A few models, such as the RTX 4090, are limited in firmware to a value below the top of the graph, so you may need to lower things a fair bit before you see any change. That is expected, not a fault.
The setting did not stick after reboot. Make sure you saved to a profile and turned on Apply at Windows Startup, and that Afterburner itself is set to start with Windows.
On a laptop, go gentler. Laptop GPUs share cooling and power with the CPU and behave less predictably, so use smaller voltage steps and watch both chip temperatures as you test. The payoff is still real, since cooler running often means the machine can hold its boost clocks longer, but the safe margins are tighter than on a desktop.
Frequently asked questions
Does undervolting lower FPS?
Done right, no. You hold the same clock speed at a lower voltage, so performance stays equal. Many cards even hold their boost longer because they run cooler, giving slightly better results in long sessions.
How much can I undervolt my GPU?
It depends on your specific chip. Around 900mV is a safe starting point for NVIDIA cards. Step down in 15 to 25mV moves, testing each time, until you crash, then go back up one step.
Can undervolting damage my GPU?
No. You are lowering voltage, not raising it. The worst case is a crash that clears on reboot. There is no risk of overheating or physical damage from going too low.
Do I need to undervolt an AMD card in MSI Afterburner?
Not usually. AMD’s own Adrenalin software has built-in voltage control. Press Alt+R, go to Performance then Tuning, set it to Custom, and apply a small negative voltage offset instead.
Why isn’t my GPU undervolted from the factory?
Manufacturers set one safe voltage for a whole batch of chips so even the weakest one stays stable. That leaves most cards running more voltage than they actually need, which is the headroom you are reclaiming.
Conclusion
Undervolting your GPU is a low-risk way to run cooler, quieter and more efficiently with no real loss in frames. Open MSI Afterburner’s curve editor, hold your normal boost clock at around 900mV, flatten the curve to the right so the card cannot climb higher, then stress test for at least ten minutes. When it stays stable, save the profile and set it to load at startup. A good result is the same FPS at lower temperatures and power.
Related Post:
Why Your GPU Is Not Showing in Task Manager (and How to Fix It)
Performance Scaling on GPU or Display: Which Should You Pick?
Should You Turn On Hardware-Accelerated GPU Scheduling?
How to Change Thermal Paste on a GPU (Step-by-Step)
How to Switch From an NVIDIA to an AMD GPU (Clean, Step by Step)
![Fix GPU memory leak [Forge/Fabric]: what it does and how to install it](https://nobelspot.com/wp-content/uploads/2026/08/GPU-Fan-Speed-33.jpg)