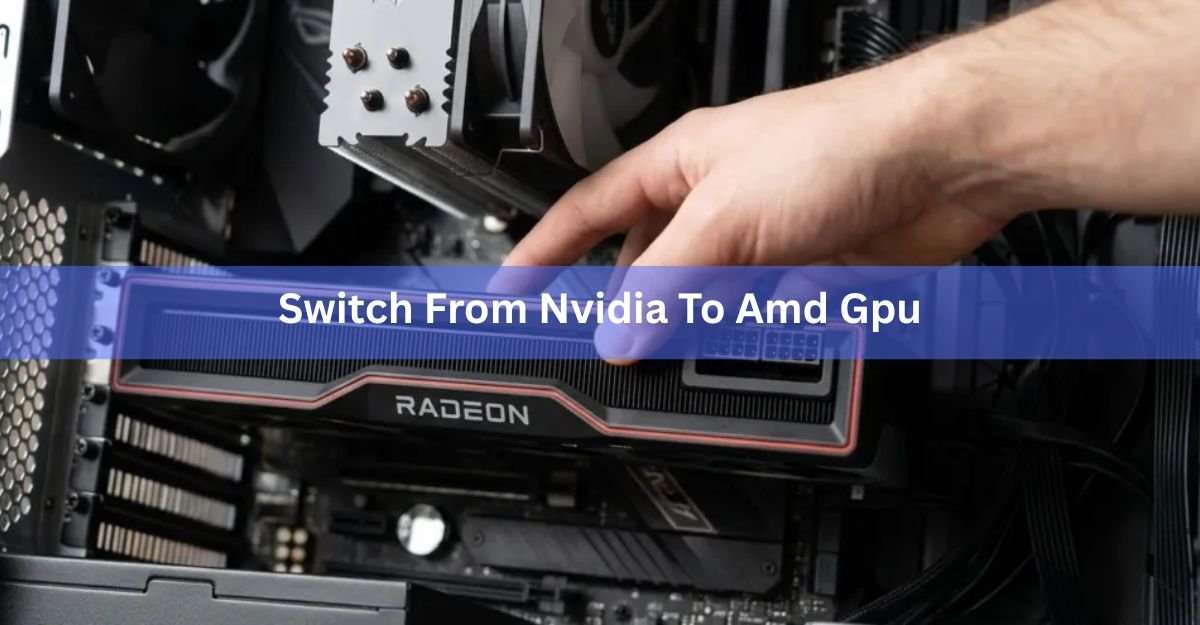
Switching from NVIDIA to AMD is simple, but the order matters. Remove your NVIDIA drivers first, shut down, swap the card, boot up, then install AMD’s driver from scratch. Do it in that order and the whole thing takes about 20 minutes. Do it out of order and you invite black screens, artifacts, and a card Windows won’t recognise.
That one rule, drivers out before the card comes out, is what most people get wrong. The rest is easy. Below is the full process, the software you’ll meet on the AMD side, whether your monitor still works, and how to fix the handful of things that can go sideways.
What actually changes when you switch
Less than you might fear. Your games, saves, Windows install, and settings all stay exactly where they are. None of that lives on the graphics card. What changes is the driver software and a few features that carry different names on the AMD side.
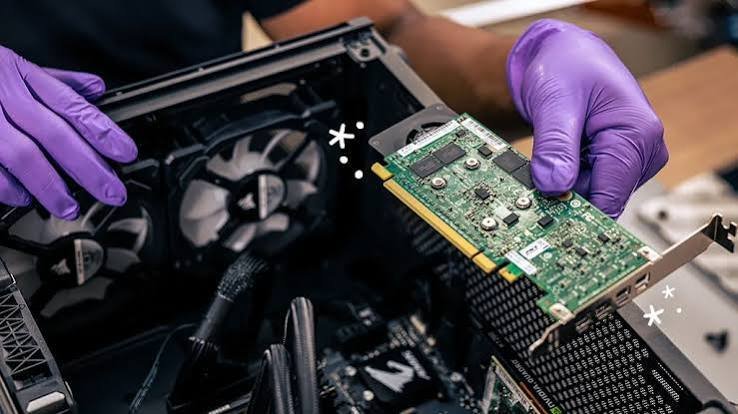
Three things are worth knowing before you start. First, the control panel is different. NVIDIA’s App and Control Panel become AMD’s Adrenalin, covered in detail further down. Second, some feature names change: DLSS becomes FSR, Reflex becomes Anti-Lag, and NVIDIA Broadcast has an AMD equivalent called Radeon software’s built-in streaming and noise features. Third, if you record or stream, your encoder changes from NVIDIA’s NVENC to AMD’s AMF. Most recording apps like OBS support both, so you just pick the AMD encoder in settings.
One practical note on games. If a title lets you choose an upscaler, you’ll now pick FSR instead of DLSS. In games with both, it’s a one-line change in the graphics menu. Everything else about how you play stays the same.
Before you start: check three things
Five minutes of checking now saves an afternoon of frustration later. Before you buy or open anything, confirm these fit.
- Power connectors. Check whether your new Radeon card needs 8-pin PCIe cables, and how many. Your power supply has to have them free. A card like the RX 7800 XT wants two 8-pin connectors, so count your spare cables before you commit.
- Physical size. Modern GPUs are long and thick. Measure the space in your case from the back of the slot to the drive cage or front fans. Triple-fan cards eat a lot of room.
- Power supply wattage. AMD lists a recommended PSU wattage on every card’s spec page. If yours is close to the minimum, plan to upgrade it too. A good rule is to leave some headroom above the recommended figure rather than sitting right on it, which keeps the supply cooler and quieter under load.
It’s also worth a quick sanity check on your CPU and resolution. A high-end Radeon card paired with an older processor at 1080p can be held back by the CPU, meaning you pay for frames you won’t see. If your monitor is 1440p or 4K, a strong GPU stretches its legs properly. Matching the card to your screen and processor gets you the best value from the switch.
A quick word on the PCIe slot itself. Any Radeon card from the last several generations works in a standard PCIe x16 slot, and it’s backward compatible, so an older motherboard still runs a new card. You may lose a little bandwidth on a very old board, but for gaming the real-world difference is usually tiny. Don’t let slot version stop you.
If all three check out, you’re ready. Grab one free tool before you begin: Display Driver Uninstaller (DDU). It strips out every leftover file, registry key, and service that Windows’ normal uninstaller leaves behind. This is the tool that makes a clean swap clean. Download it, and the AMD driver, while your old card is still working, so both files are sitting ready before you open the case.
Step 1: Remove your old NVIDIA drivers
Do this while the NVIDIA card is still in the machine. You need working display output to run the uninstall, and DDU works best in Safe Mode where Windows can’t interrupt it.
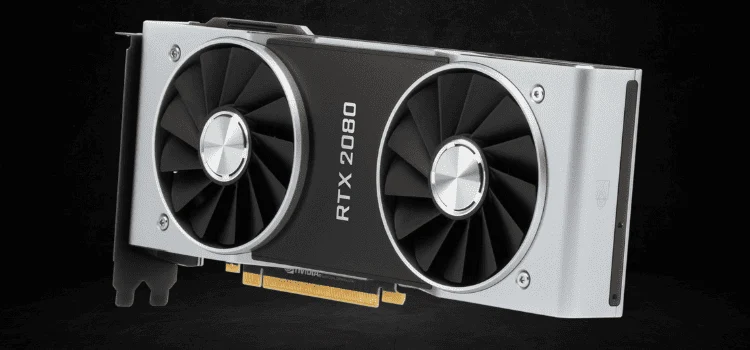
- Download DDU and unzip it to your desktop. Also download the AMD driver now (see Step 3) so it’s ready to go before your card even arrives.
- Boot into Safe Mode. Open Settings, go to System, Recovery, then Advanced startup and click Restart now. Choose Troubleshoot, Advanced options, Startup Settings, Restart, then press 4 for Safe Mode.
- Run DDU. Open it, pick GPU and then NVIDIA from the menus on the right. Click “Clean and restart.” DDU wipes the drivers and reboots you back to a normal desktop.
- Confirm it worked. Your screen may look low-resolution now. That’s fine, it means Windows is using a basic display driver and the NVIDIA software is gone.
Tip: Don’t install the AMD driver yet. The card isn’t in the machine. Installing it now does nothing useful and can cause conflicts. Wait for Step 3.
Step 2: Swap the card
Now the hardware. Power everything down fully before you touch anything inside the case.
- Shut down and cut the power. Turn off the PC, flip the switch on the back of the power supply to off, then hold the case power button for a few seconds to drain any leftover charge.
- Unplug the old card. Remove the PCIe power cables from the NVIDIA card. Unscrew the two bracket screws holding it to the case.
- Release and lift. Find the small plastic latch at the end of the long PCIe x16 slot (the top one, usually). Press it down to unlock the card, then lift the card straight up and out. Don’t rock it side to side.
- Seat the AMD card. Line the new card up with the same slot and press down firmly until the latch clicks shut. Screw the bracket back in.
- Reconnect power. Plug the PCIe power cables into the new card. Use separate cables for each connector if your card has two, rather than a single daisy-chained cable, for steadier power delivery.
Touch a bare metal part of the case before handling the card to discharge static. Handle the card by its edges, not the circuit board or fans. Flip the PSU switch back on and boot into Windows.
Step 3: Install the AMD driver
Windows will boot with a basic picture. It might look stretched or low-res until the real driver goes on. That’s expected. Now install AMD’s software.
- Get the right driver. Go to AMD’s Drivers and Support page, pick your exact card model, and download AMD Software: Adrenalin Edition. This single package includes both the display driver and the control app.
- Run the installer. Choose the standard install. It will flicker the screen a couple of times as the driver loads, which is normal.
- Reboot. Restart when it finishes. Your display should snap to full resolution and refresh rate.
- Check it’s live. Right-click the desktop and open AMD Software: Adrenalin Edition. If it opens and shows your card, you’re done. The swap is complete.
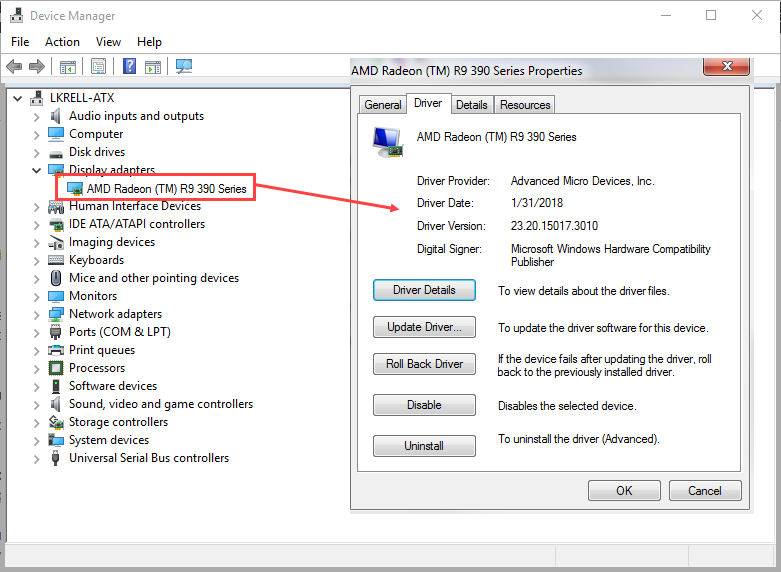
If Windows tries to install its own AMD driver before you run the official one, let the official Adrenalin installer overwrite it. The version from AMD’s site is newer and includes the full app.
Meet Adrenalin: the software that replaces GeForce Experience
Adrenalin is AMD’s version of the NVIDIA App. It’s one program that holds your driver updates, recording, performance overlay, and game settings. Coming from NVIDIA, the layout is different but the ideas map across. Here’s what actually matters on day one.
HYPR-RX is the one-click button worth knowing first. It switches on AMD’s main performance features together, and on newer cards AMD reports it can lift frame rates substantially depending on the game and settings. If you want more frames without learning every toggle, start here.
FSR (FidelityFX Super Resolution) is AMD’s upscaler, the counterpart to NVIDIA’s DLSS. It renders the game at a lower resolution and reconstructs it up to your display size for a big frame-rate gain. The newest version, FSR 4, uses machine learning and runs on the RX 9000 series, while the 2026 update (FSR 4.1) extends some upscaling support back to RX 7000 cards. AMD explains the current versions and toggles on its
FSR technologies page. When a game has FSR built in, use that in-game option. For older games without it, Radeon Super Resolution (RSR) applies a driver-level version to almost anything.
Radeon Anti-Lag cuts input latency, similar to NVIDIA Reflex. Anti-Lag works at the driver level in most DirectX 11 and 12 games. The newer Anti-Lag 2 is built into supported game engines and plays nicely with anti-cheat systems, so it won’t get you banned.
Radeon Chill and Radeon Boost save power and lift frame rates in specific situations. They’re handy for a quiet, cool machine, but leave both off for competitive shooters since they can add latency or soften the image during fast movement.
Recording and streaming live in the same app. Adrenalin has a built-in capture tool for clips and full recordings, plus a performance overlay that shows frame rate, temperatures, and usage while you play. If you already use OBS or another app, keep it, and just switch its encoder to AMD’s AMF option. The overlay is genuinely useful in the first week: it lets you confirm the new card is running at full clocks and sensible temperatures under load.
Driver updates download through Adrenalin itself. It notifies you when a new version is ready, and AMD ships updates often to add support for new game releases and fix bugs. You don’t need a separate account or login the way some NVIDIA features once asked for. A good habit is to update when a game you play gets a fresh driver called out in the release notes, rather than chasing every single release.
Spend ten minutes clicking through the five tabs on your first day. Adrenalin packs a lot in, and the defaults are sensible, so you don’t have to change anything to game well. But knowing where the recording button, the performance overlay, and the FreeSync toggle live will save you hunting later.
Will my G-Sync monitor still work with an AMD card?
Almost certainly, yes. The old “locked ecosystem” where your monitor’s variable refresh only worked with the matching GPU brand has largely gone away. Most G-Sync monitors sold in recent years are “G-Sync Compatible,” which means they use the open VESA Adaptive-Sync standard, the same one FreeSync is built on. AMD cards can run variable refresh on those displays.
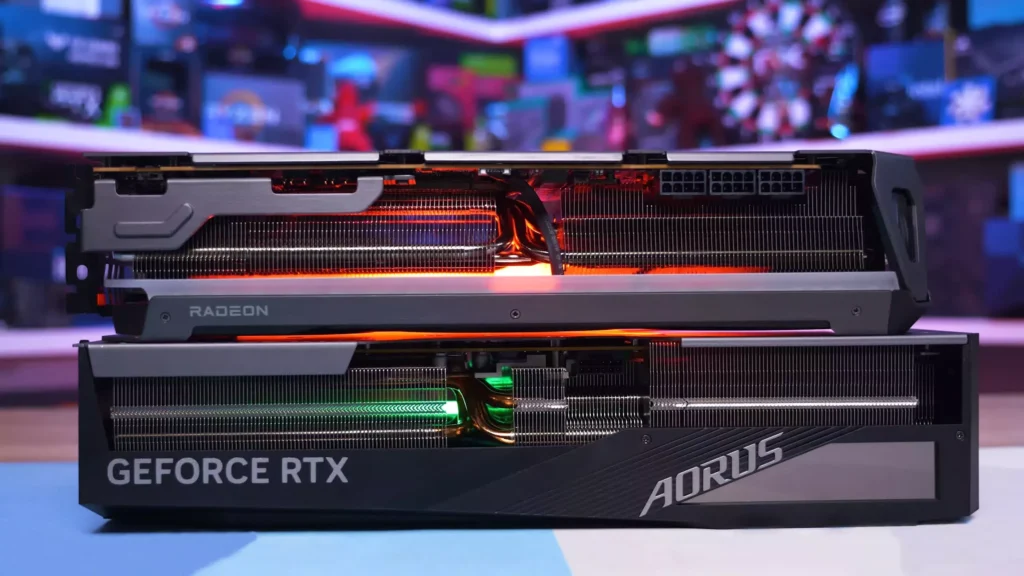
The exception is an older “native” G-Sync monitor, the kind with a dedicated NVIDIA hardware module inside. Those were built only for NVIDIA’s variable refresh and won’t do adaptive sync on an AMD card. The picture still displays fine; you just lose the tear-free variable refresh. If your monitor carries a FreeSync badge, or NVIDIA lists it as G-Sync Compatible, you’re covered.
After you install the AMD driver, open Adrenalin, go to the Display tab, and switch FreeSync on. Turn on Adaptive-Sync or VRR in your monitor’s own menu too. For the smoothest, tear-free result, cap your frame rate a few frames below your monitor’s maximum refresh so you stay inside the variable refresh range.
Common problems and quick fixes
Most swaps go clean. When something’s off, it’s usually one of these, and each has a fast fix.
| Problem | What to do |
|---|---|
| Black screen after boot | Check the monitor cable is in the GPU, not the motherboard. Reseat the card and its power cables. If it persists, boot to Safe Mode and run DDU again, then reinstall the AMD driver. |
| Card not recognised | Old NVIDIA driver leftovers are usually the cause. Run DDU once more in Safe Mode, then do a fresh Adrenalin install. |
| Artifacts or flickering | Reseat the card fully until the latch clicks. Confirm both PCIe power cables are firmly connected. Try a different driver version if it continues. |
| No display at all | Make sure the card is fully seated and powered. Double-check the PSU switch is on and the bracket is flush with the slot. |
| Fans spin, no picture | Often a loose card or a monitor set to the wrong input. Cycle the monitor’s input source and reseat the GPU. |
If you’re stuck after a clean DDU and reinstall, it’s worth testing the card in another PC or with a different cable to rule out a faulty unit before you assume it’s software.
Frequently asked questions
Do I have to reinstall Windows to switch from NVIDIA to AMD?
No. A clean driver removal with DDU does the job. Reinstalling Windows is unnecessary and a waste of time for a simple GPU swap.
Can I just uninstall NVIDIA drivers through Control Panel instead of DDU?
You can, but it often leaves files and registry entries behind that cause conflicts. DDU removes everything, which is why it’s the recommended way to avoid black screens and crashes.
Should I remove the NVIDIA card before or after uninstalling the drivers?
Uninstall the drivers first, while the card is still installed, then power down and swap. Removing the card first leaves you without display output to run the uninstaller cleanly.
Will my games and saves be affected by switching GPUs?
No. Your games, saves, and settings live on your drive and aren’t tied to the graphics card. You may want to re-check in-game graphics options to enable FSR where it’s offered.
Do I need a new monitor if I had a G-Sync display?
Usually not. Most modern G-Sync monitors are G-Sync Compatible and run variable refresh on AMD cards. Only older native G-Sync monitors with a hardware module lose adaptive sync on an AMD GPU.
Conclusion
Switching from NVIDIA to AMD comes down to one rule: clean out the old drivers with DDU before the card leaves the case, then install AMD’s Adrenalin driver only after the new card is seated. Check your power connectors, size, and wattage first, swap in that order, and you’ll be up and running in about 20 minutes. A good result is full resolution on first boot, Adrenalin recognising your card, and FreeSync running on your monitor.
Related Post:
How to Install a New GPU: A Safe, Step-by-Step Guide
What Does Ti Stand for in a GPU? Nvidia’s Titanium Cards Explained
What Does Undervolting a GPU Do? A Plain Guide to Lower Temps and Power
How to Change Thermal Paste on a GPU (Step-by-Step)