Updated for 2026
Installing a new GPU takes about 20 to 30 minutes. You power down and unplug the PC, take out the old graphics card, seat the new one firmly in the top PCIe x16 slot until it clicks, screw it to the case, connect the power cable, then boot up and install fresh drivers. That’s the whole job.
The mechanical part is easy. Two spots trip people up: pushing the power connector in all the way, and switching drivers cleanly. Get those right and the rest is just screws. This guide walks through every step and flags the mistakes that cause black screens or, in rare cases, a melted cable.
What you need before you start
You need very little. A single Phillips-head screwdriver handles almost the entire install. It helps to have the rest of this ready so you’re not stopping halfway:
- Your new graphics card and any adapter cable in the box.
- A clear, well-lit surface and a few minutes of patience.
- The latest driver already downloaded (more on that below).
- Optional but smart: a magnetic-tip screwdriver so you don’t drop screws into the case.
Anti-static wrist straps are sold for this, but they’re not essential. Touching a bare metal part of the case before you handle parts, and not doing the job on carpet, is enough for most people. Work on a hard floor or table.
Will the card fit, and can your PC power it?
Check three things first: slot, space, and power. Skipping this is the main reason an install stalls.
The slot
Your card goes in a PCIe x16 slot, the long slot on the motherboard. Use the one nearest the CPU cooler, usually the topmost long slot. That’s the fastest slot and the one the card expects. Almost every desktop from the last decade has one free.
The space
Modern high-end cards are big. Measure the length inside your case from the slot to the front, and check the card’s length on the maker’s spec page. Also count how many slots the cooler covers; many cards are 3 or even 4 slots thick now. If a card is too long or too tall, it won’t fit, and no amount of pushing changes that.
The power
Your power supply (PSU) needs two things: enough wattage, and the right cable. Check the card maker’s recommended PSU size and compare it to the wattage printed on your PSU label. As a rough guide, a mid-range card is happy on a 650W to 750W unit, while a top card like an RTX 5090 wants 1000W or more.
| Tip Cards draw short power spikes well above their rated wattage. Leaving headroom on your PSU keeps the system stable under load, so don’t buy right at the limit. |
Know your power connector before you open the case
This is the step that actually protects your hardware, so it’s worth 60 seconds. Graphics cards pull power through one of a few connector types, and the newest one needs care.
| Cable type | What it looks like | Typical use |
|---|---|---|
| 6-pin / 8-pin PCIe | One or two rectangular plugs with a clip | Older and mid-range cards up to about 300W |
| 12VHPWR (16-pin) | Small plug, 12 power pins plus 4 sense pins, marked H+ | First seen on RTX 40-series cards |
| 12V-2×6 (16-pin) | Same size plug, shorter sense pins, marked H++ | Current standard on RTX 50-series and new PSUs |
Cards from the RTX 40-series onward use a single 16-pin plug. The first version was called 12VHPWR. A revised version, 12V-2×6, replaced it and is the standard on current cards and power supplies. The two look identical and fit the same socket, so you’ll see both names on boxes and listings. A cable built to either one works.
The reason this matters: when the earlier connector was pushed in only partway and then put under a heavy gaming load, the pins could overheat and melt the plastic. The newer 12V-2×6 design shortened the sense pins so the card only sees a good connection once the power pins are fully home. It’s a real fix, but it doesn’t cancel the golden rule, which is to push the plug in until it clicks and never leave it loose. Seasonic’s cable seating guidance shows what a fully locked connector should look like.
If your new card came with a 4×8-pin to 16-pin adapter, use the one in the box, not a random one. Plug each 8-pin end into a separate cable from the PSU rather than daisy-chaining a single split cable, which spreads the load safely.
Prep your PC and sort out drivers
A little software prep now saves a black screen later. Do this while the PC is still running normally.
First, download the newest driver for your new card from Nvidia’s driver page or AMD’s equivalent, and save it to the desktop. You want it ready before the old card is gone.
Next, decide if you need a clean driver wipe. If you’re staying with the same brand (say, one Nvidia card to another), the new driver will install fine over the old one and you can skip ahead. If you’re switching brands, from Nvidia to AMD or the other way, old files can clash with the new card and cause crashes or stutter.
For a brand switch, the cleanest tool is Display Driver Uninstaller (DDU), a free utility that strips out every leftover file and registry entry the normal uninstaller misses. The safe way to use it:
Get set up first
Download DDU and your new driver, then disconnect from the internet so Windows can’t sneak in its own driver mid-process.
Boot into Safe Mode
This stops Windows loading driver files while DDU works.
Run DDU
Pick GPU, choose your current brand, and select “Clean and shutdown.” The shutdown is important, it powers the PC off so you can swap the card.
With the PC off after DDU, you’re ready to open the case. If you’re keeping the same brand, just shut down normally instead.
Remove the old graphics card
Power the PC fully off and unplug it from the wall. Then, importantly, hold the power button for five seconds to drain any leftover charge. Now open the side panel, usually two thumbscrews at the back.
If there’s no card installed yet, skip to the next section. To remove an existing card:
Unplug its power cables
Press the little clip on each connector and pull it free from the card.
Remove the bracket screws
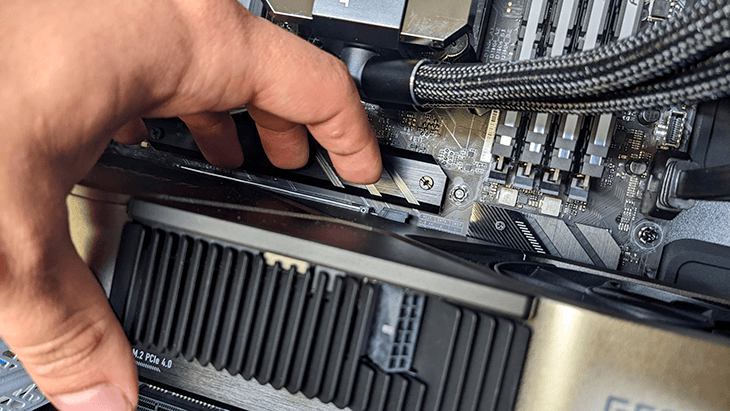
At the back of the case, one or two screws hold the card to the frame. Undo them and keep them safe.
Release the slot latch
At the back end of the PCIe slot is a small clip or lever. Push it down or to the side to unlock the card. This is easy to forget, and forcing the card without releasing it can crack the slot.
Lift the card out
Grip it by the edges and pull straight up with gentle, even pressure. Don’t rock it side to side. Slide the old card into an anti-static bag if you’re keeping or selling it.
Fit the new card
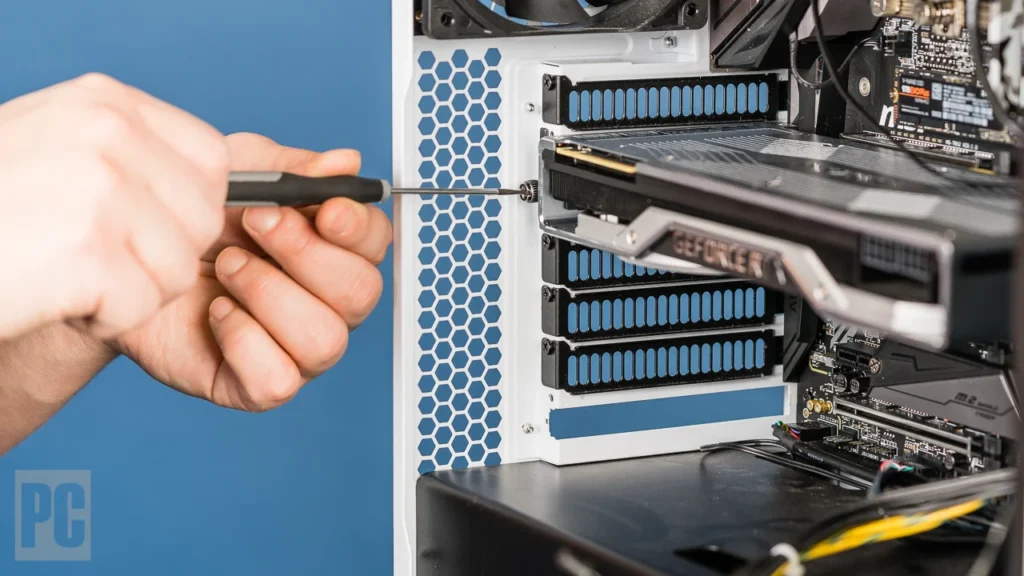
This is the reverse of taking one out, and it’s the satisfying part. First, look at the back of the case: remove the metal slot covers that line up with where your new card will sit. A thick card may need two or three covers removed.
Line up the card
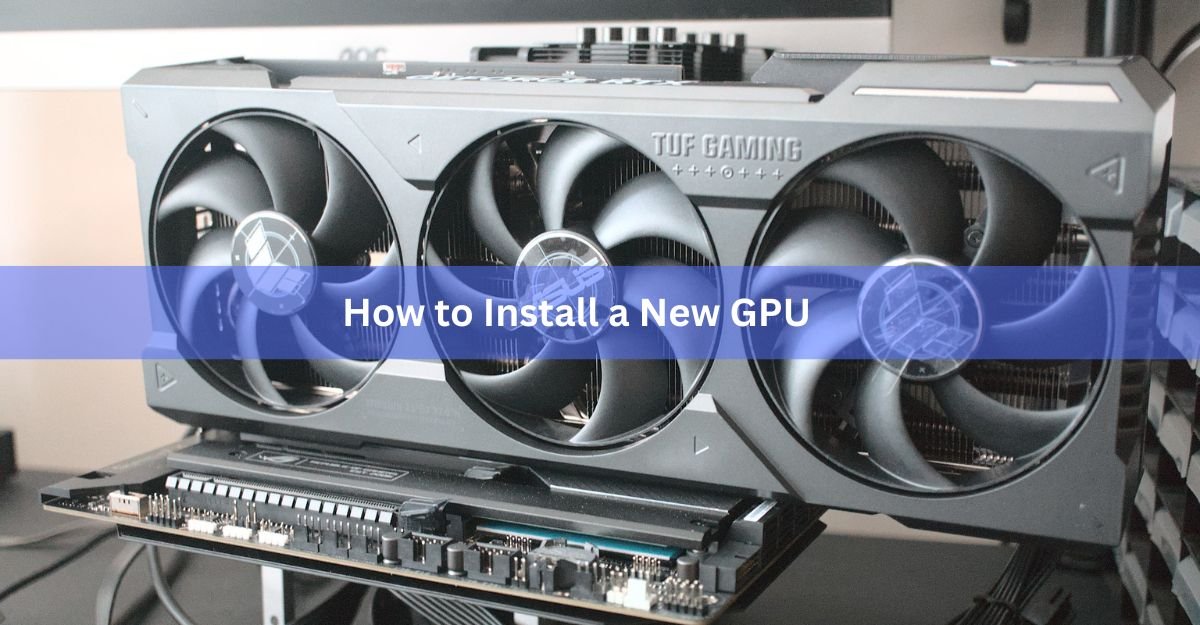
Hold it by the edges and match the gold contacts to the top PCIe x16 slot, with the display ports facing the back of the case.
Press it home
Push down firmly and evenly along the length of the card until the slot latch clicks up on its own and locks. You’ll feel it seat. There should be no big gap between the card’s bracket and the case.
Screw it in
Use the bracket screws you saved to fix the card to the case. This stops a heavy card sagging and keeps the connection solid.
| Tip Big cards sag over time under their own weight. A cheap GPU support bracket or anti-sag stick keeps the card level and protects the slot for the long run. |
Connect the power the right way
Now plug in the power cable that runs from your PSU to the card. This is where care pays off. Match the connector to the card’s port, then push it in straight and all the way until it clicks and sits flush. A partly seated plug is the single most common cause of trouble.
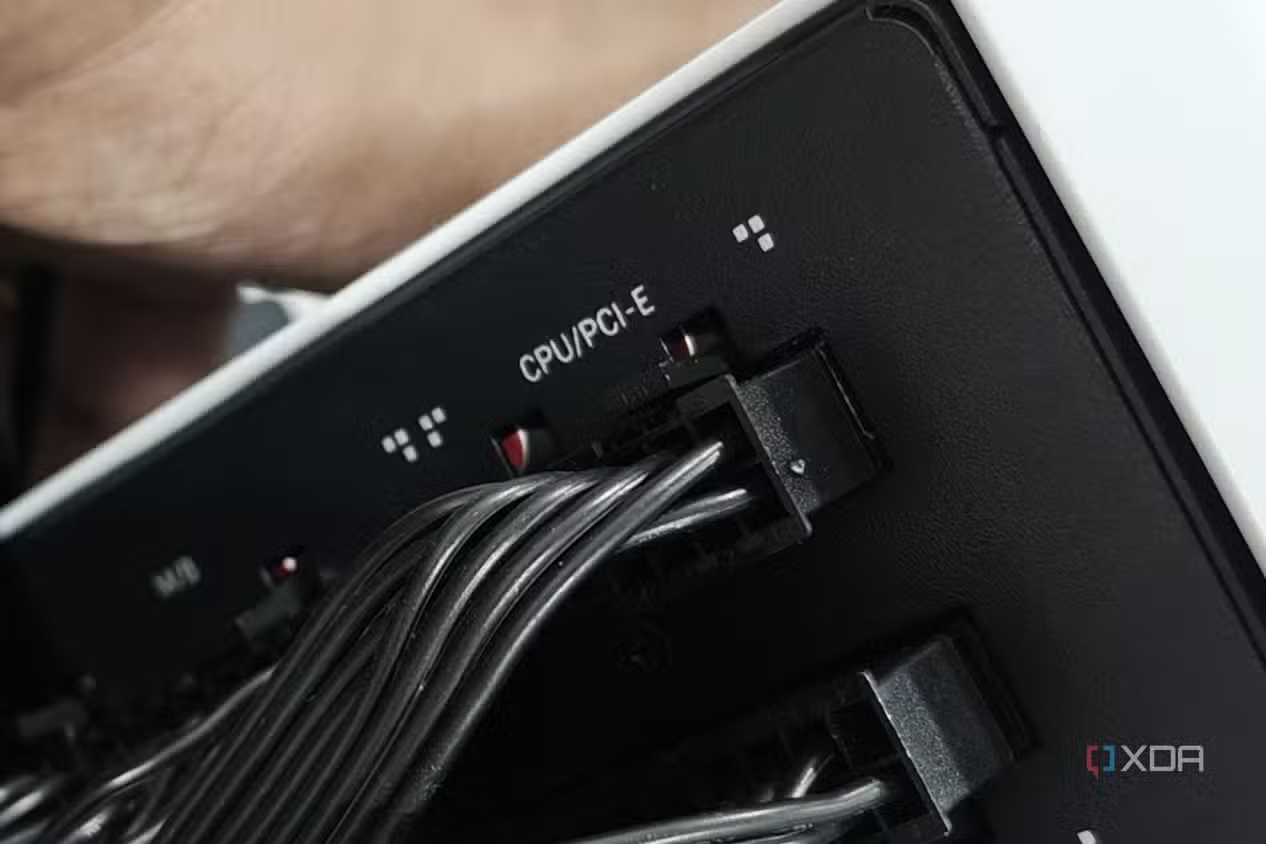
A few rules for the modern 16-pin connector:
- Make sure it clicks. If there’s no click, it isn’t fully in. Give it a gentle wiggle to confirm it won’t pull loose.
- Don’t bend the cable sharply right at the plug. Leave a straight run of at least an inch or so before any bend, so the pins stay square in the socket.
- Check your side panel closes without pressing on the cable. If the glass or panel is shoving the plug at an angle, a right-angle adapter can help.
Older 6-pin and 8-pin connectors are more forgiving, but the same logic holds: seat them until the clip snaps. Double-check every plug before you close up.
First boot and drivers
Before you screw the panel back on, do a quick sanity check: card seated and screwed in, power cable clicked in, old cables tidy and clear of fans. Then plug your monitor into the new card’s ports, not the motherboard’s, and reconnect power.
Turn it on. The fans should spin and you should get a picture. If the screen stays black, jump to troubleshooting below.
Once Windows loads, install the driver you downloaded earlier. Run the installer, let the screen flicker a couple of times as it loads, and reboot if asked. Reconnect the internet after. Your card is now running at full performance.
If you used DDU for a brand switch, this is the moment to install that fresh driver on the clean system. From here your new GPU is ready for games or work.
Troubleshooting common problems
No display / black screen
Nine times out of ten, something isn’t fully seated. Power off, unplug, and check that the card is pushed all the way into the slot and the power cable clicked home. Confirm the monitor is plugged into the card, not the motherboard.
Fans spin but no picture
Reseat the card and the power connector. Try a different monitor cable or port. If you have onboard graphics, plug into the motherboard temporarily to confirm the rest of the PC is fine.
Stuttering or crashes after install
This usually points to leftover old drivers, especially after a brand switch. Run DDU in Safe Mode to wipe them, then reinstall the latest driver cleanly.
A faint smell of hot plastic
Shut down immediately. This is the warning sign of a partly seated 16-pin connector. Unplug, inspect the cable and port for any discoloration, and reseat fully. If anything looks melted, stop using that cable.
Frequently asked questions
How long does it take to install a GPU?
About 20 to 30 minutes for the physical swap and drivers. First-timers might take a bit longer being careful. A clean driver wipe with DDU adds another 15 minutes or so.
Do I need to uninstall old drivers before a new GPU?
Only if you’re switching brands, such as Nvidia to AMD. Staying with the same brand? The new driver installs fine over the old one. For a brand switch, use DDU in Safe Mode to avoid conflicts.
Can I install a GPU without extra power cables?
Some low-power cards draw everything from the slot and need no extra cable. Most mid-range and high-end cards need one or more PCIe or 16-pin power connectors from your PSU.
Why is my screen black after installing the new GPU?
Almost always a loose connection or the wrong port. Reseat the card and power cable fully, and make sure your monitor is plugged into the new card, not the motherboard.
Is the 16-pin GPU power connector safe?
Yes, when fully seated. The current 12V-2×6 design fixed the partial-contact flaw of the earlier version. Push the plug in until it clicks, avoid sharp bends right at the connector, and it’s reliable.
Conclusion
Installing a new GPU is a short, low-risk job: power down and drain the charge, remove the old card, seat the new one in the top PCIe x16 slot until it clicks, screw it in, connect the power cable fully, then boot and install fresh drivers. The only steps that need real care are pushing the power connector all the way in and, if you’re switching brands, wiping the old drivers with DDU first. Do those two things and a good result is simple: fans spinning, a clean picture, and full speed on the first try.
Related Post:
CPU and GPU Temp: What’s Normal, What’s Too Hot, and How to Check
The Best GPU for Games Like Overwatch and Minecraft (2026)
Steam Deck GPU Equivalent: Which Graphics Card It Matches