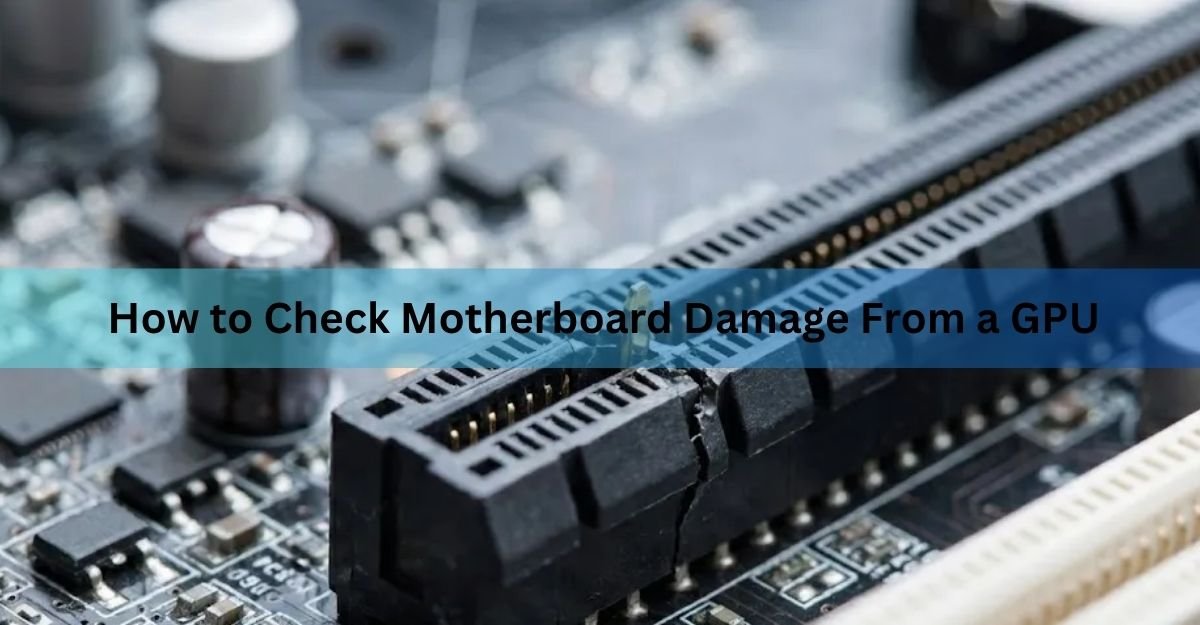
The fastest way to check is to shut the system down, pull the graphics card, and look straight into the PCIe slot for burn marks, bent pins, or melted plastic. Then boot the machine without the GPU, using integrated graphics or a different card, and see whether the board comes back to life on its own. If it does, the motherboard is very likely fine and the card is the problem. If it does not, the board needs a closer look, starting with a clear CMOS reset and a test in a different slot before you write it off.
A GPU frying a motherboard is not common, but it does happen, usually through one of three routes: a short inside a failing card that sends bad current back through the slot, physical stress from a card that is too heavy for its bracket, or a bent pin from a rough installation. The steps below walk through how to tell which one you are dealing with, in the order that wastes the least time and risks the least extra damage.
Can a GPU actually damage a motherboard?
Yes, though it takes a specific failure, not normal use. A graphics card and a motherboard share two things: an electrical connection through the PCIe slot and a physical connection through that same slot plus a case bracket. Damage tends to come from one of those two paths.
On the electrical side, a dying VRM (the voltage regulation circuit on the card that steps power down to what the chip needs) or a shorted capacitor can push irregular voltage back through the PCIe lanes. That is rare, since the slot and the card both carry protection circuitry, but it is not impossible, especially with a card that was already failing or was hit by a power surge.
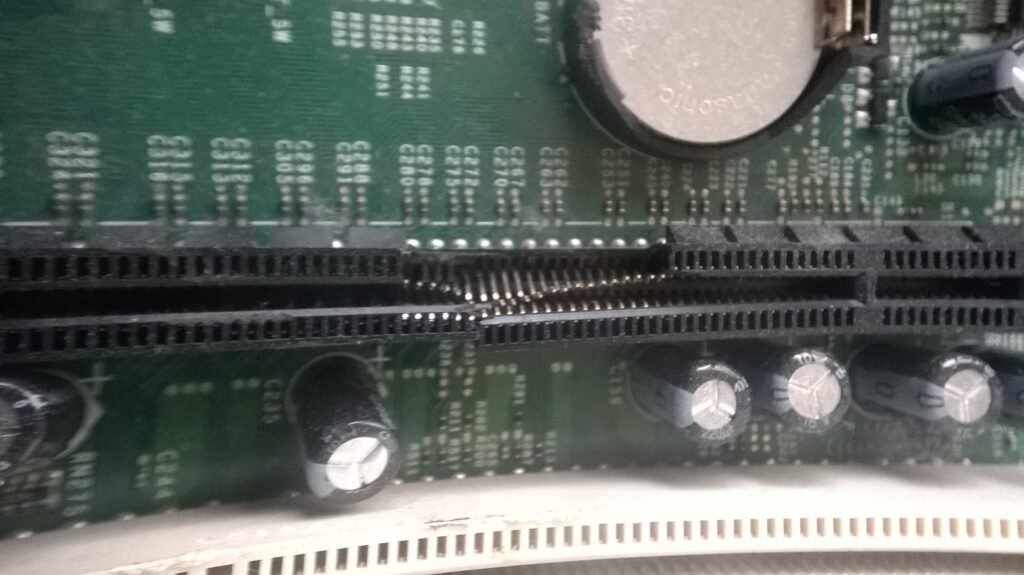
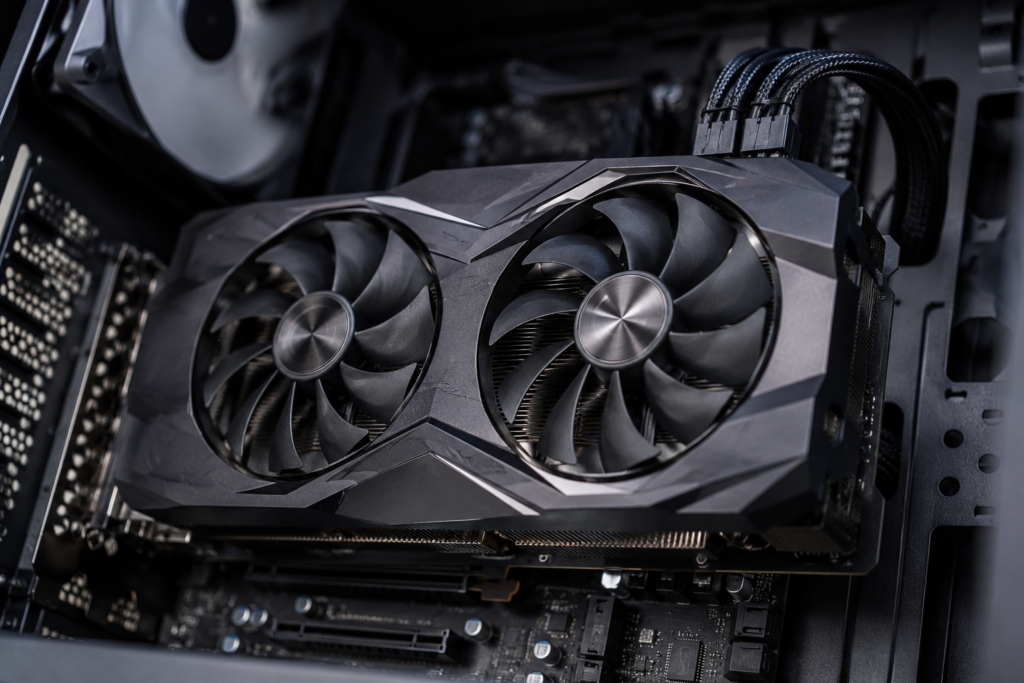
On the physical side, the PCIe x16 slot was built to carry a signal, not to hold up two pounds of metal and fans for years at an angle. Modern flagship cards routinely weigh more than a can of soda and extend well past the end of the slot. Held at a downward angle for months, that weight puts constant flex on the solder joints connecting the slot to the board. It rarely fails suddenly. It fails slowly, as fatigue, which is why it is worth checking even when nothing looks obviously wrong yet.
Bent or crushed pins inside the slot, usually from a rough card removal or a card forced in at an angle, account for a good share of the rest. That kind of damage is mechanical and visible if you know where to look, which is where the checks below start.
Signs your motherboard might be damaged by your GPU
A few symptoms point toward the slot or the board rather than the card itself. None of them is proof on its own, but seeing two or three together is a strong hint.
- No display at all, even though fans spin and lights come on.
- A burning smell, especially right after installing or removing a card.
- Visible burn marks, discoloration, or melted plastic around the slot itself, not just on the card.
- The system posts fine with integrated graphics or a different card, but never with this specific GPU in this specific slot.
- Random crashes or reboots that only happen under GPU load.
- A card that visibly droops at a steep angle, which raises the odds of slot fatigue even if everything currently works.
The table below is a quick way to match what you are seeing to what it usually means before you open the case.
| Symptom | Likely source | Check this first |
|---|---|---|
| No display, fans spin normally | Slot or card lost connection | Boot without GPU (step 3) |
| Burning smell after install | Short in power path | Shut down immediately |
| Posts fine with a different card | Original GPU likely at fault | Test known-good GPU (step 6) |
| Same slot fails with every card | Slot or board is the problem | Try a second slot (step 4) |
| Card droops sharply for months | Slot fatigue from mechanical stress | Check for GPU sag (below) |
| Random crashes only under GPU load | Marginal power connection | Reseat card, check PSU cables |
How to check for GPU-related motherboard damage
Work through these in order. Each step rules something out before you move to the next, so you are not guessing at the end.
Power down safely first
Shut the PC down from the operating system if it will still boot. Flip the power supply’s rear switch to off, then unplug the cord from the wall or surge protector. Press the case power button once with the cord unplugged to drain any charge left in the system. Skipping this step is the easiest way to turn a simple check into an actual short, so do not skip it even if you are in a hurry.
Remove the GPU and inspect the slot
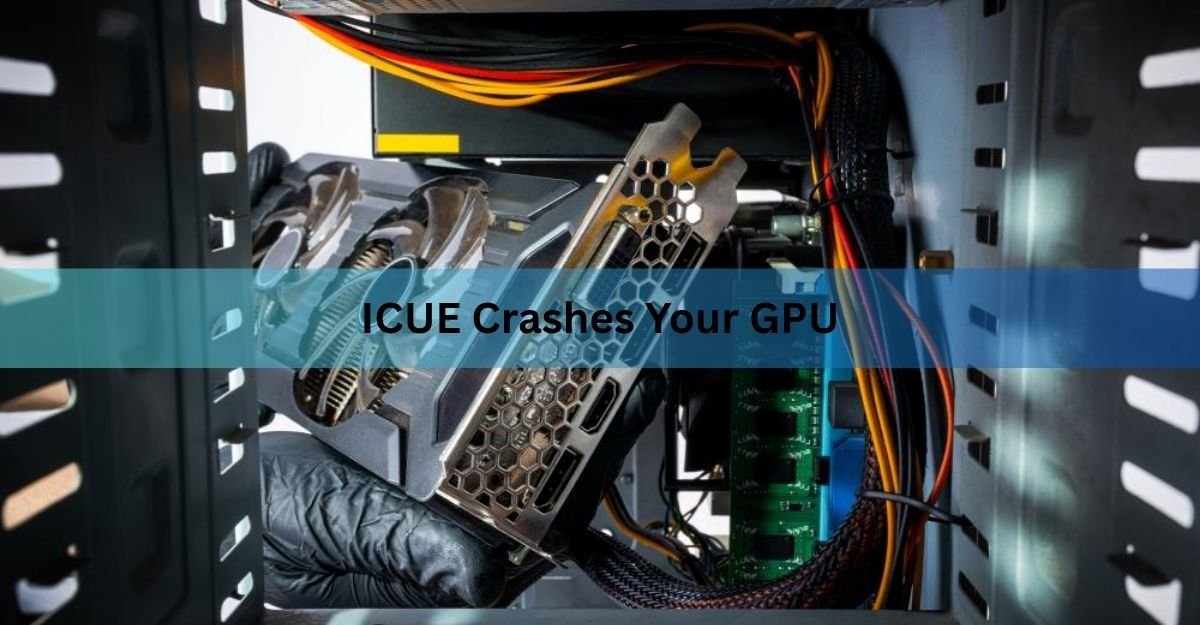
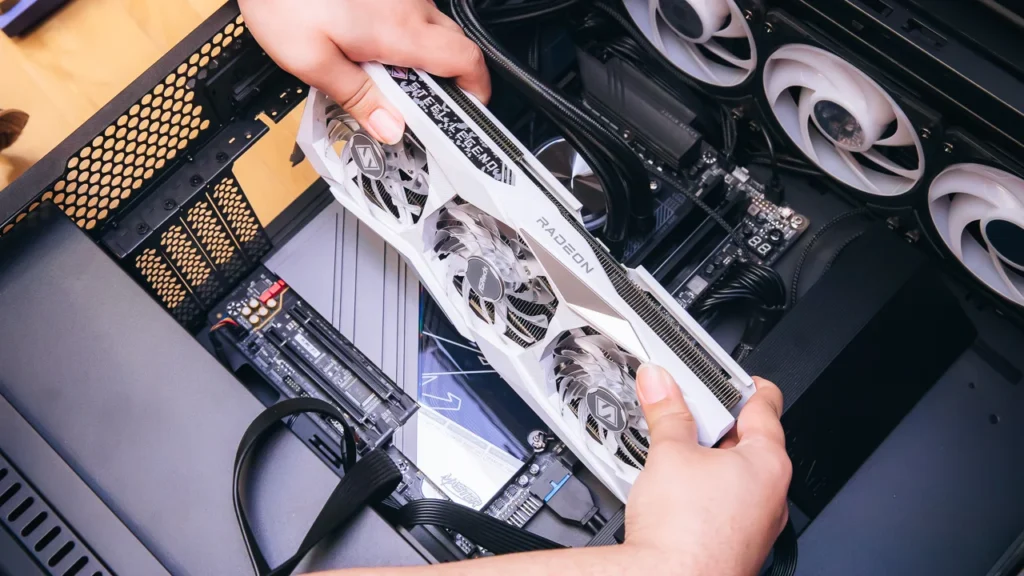
Undo the bracket screws, press the PCIe latch at the back of the slot, and lift the card straight up and out, supporting its weight so it does not flex on the way out. With the card free, shine a flashlight straight down into the empty slot. Look for scorch marks, dark or discolored plastic, bent or missing contact pins, and any capacitor near the slot that looks bulged, cracked, or crusted with dried residue. Any of these point to real physical damage rather than a driver or software issue.
Boot with no GPU at all
Leave the graphics card out. If your CPU has integrated graphics, connect the monitor to the motherboard’s own video output instead of where the GPU used to sit. If your CPU has no integrated graphics, this step will not produce a picture, but the system should still post, meaning fans spin up, the boot LEDs cycle normally, and, if your board has one, the two digit debug display settles on a normal code rather than freezing. A clean post here means the core of the board, the CPU socket, RAM slots, and power delivery, is working.
Test the GPU in a different PCIe slot
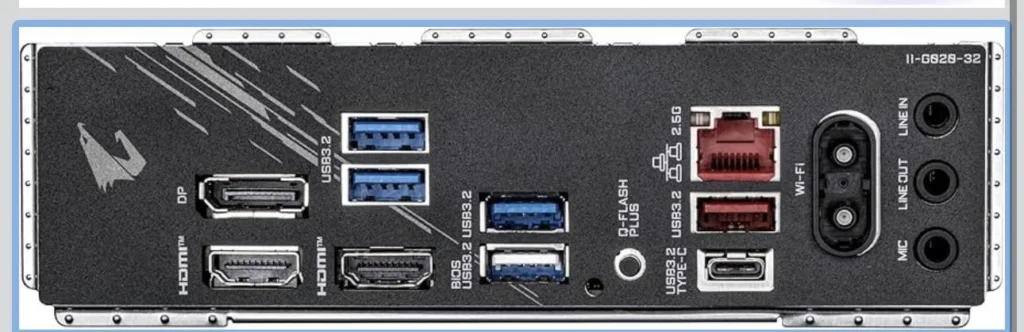
If your board has a second x16 or x8 slot, move the card there and boot again. A card that works in a second slot but not the first points squarely at that one slot rather than the whole board, which changes the fix from replacing the motherboard to simply using the other slot, or getting that one slot repaired.
Clear the CMOS
A stuck BIOS setting from before the failure, especially anything related to PCIe generation or resizable BAR, can look exactly like a hardware problem. With the PSU off and unplugged, either pull the round CR2032 battery for about five minutes or bridge the clear-CMOS jumper with a screwdriver, following your board’s manual for the exact pin location. Reassemble and try again before assuming the worst.
Test with a known-good GPU
Borrow a graphics card you know works, or use a spare, and put it in the slot you suspect. If the system posts normally with that card, the original GPU is the more likely culprit and the slot is probably fine. If the system still fails to post with a card you trust, suspicion shifts firmly onto the motherboard, the PSU, or the slot itself.
Test your GPU in another system
Take the suspect card to a different PC, or ask a friend to test it. If it fails to post or behaves erratically there too, the card is almost certainly the problem, not your board. If it runs perfectly fine somewhere else, the issue more likely sits in your original motherboard, PSU, or slot.
Breadboard the motherboard, if you’re still unsure
This is the most thorough test, and worth doing before buying a replacement board. Pull the motherboard out of the case entirely and set it on its own box or a piece of cardboard, away from anything conductive. Connect only the CPU, its cooler, one stick of RAM, and the power supply, then short the power pins with a screwdriver to start it. Testing outside the case removes any chance that a case standoff is touching the board somewhere it shouldn’t, which is a surprisingly common source of mystery failures that have nothing to do with the GPU at all.
Read the debug LEDs and any POST code display
Most mid-range and higher motherboards include a small cluster of labeled lights, usually CPU, DRAM, VGA, and BOOT, or a two-digit number display, that show exactly where the startup process stalls. A VGA light that stays lit points at the graphics path specifically, whether that means the card, the slot, or the connection between them. Check your board’s own manual, since color and layout are not standardized across brands, and the PCIe electrical and mechanical specification itself lives with the PCI-SIG standards group, which is the source manufacturers build their slots to.
What the debug LEDs are telling you
A light that flickers through CPU, then DRAM, then VGA, then BOOT before going dark is completely normal; that is the board working through its checks in order. The one worth worrying about is a light that stays on and never advances, especially after the system has had a full minute to settle. A stuck VGA indicator paired with no display, even on integrated graphics, points hard at the slot or the board’s graphics path rather than the CPU or memory. If your board lacks LEDs entirely, a cheap PCIe or USB post code card, or the classic speaker beep pattern if you have one wired up, gives the same information in a different form.
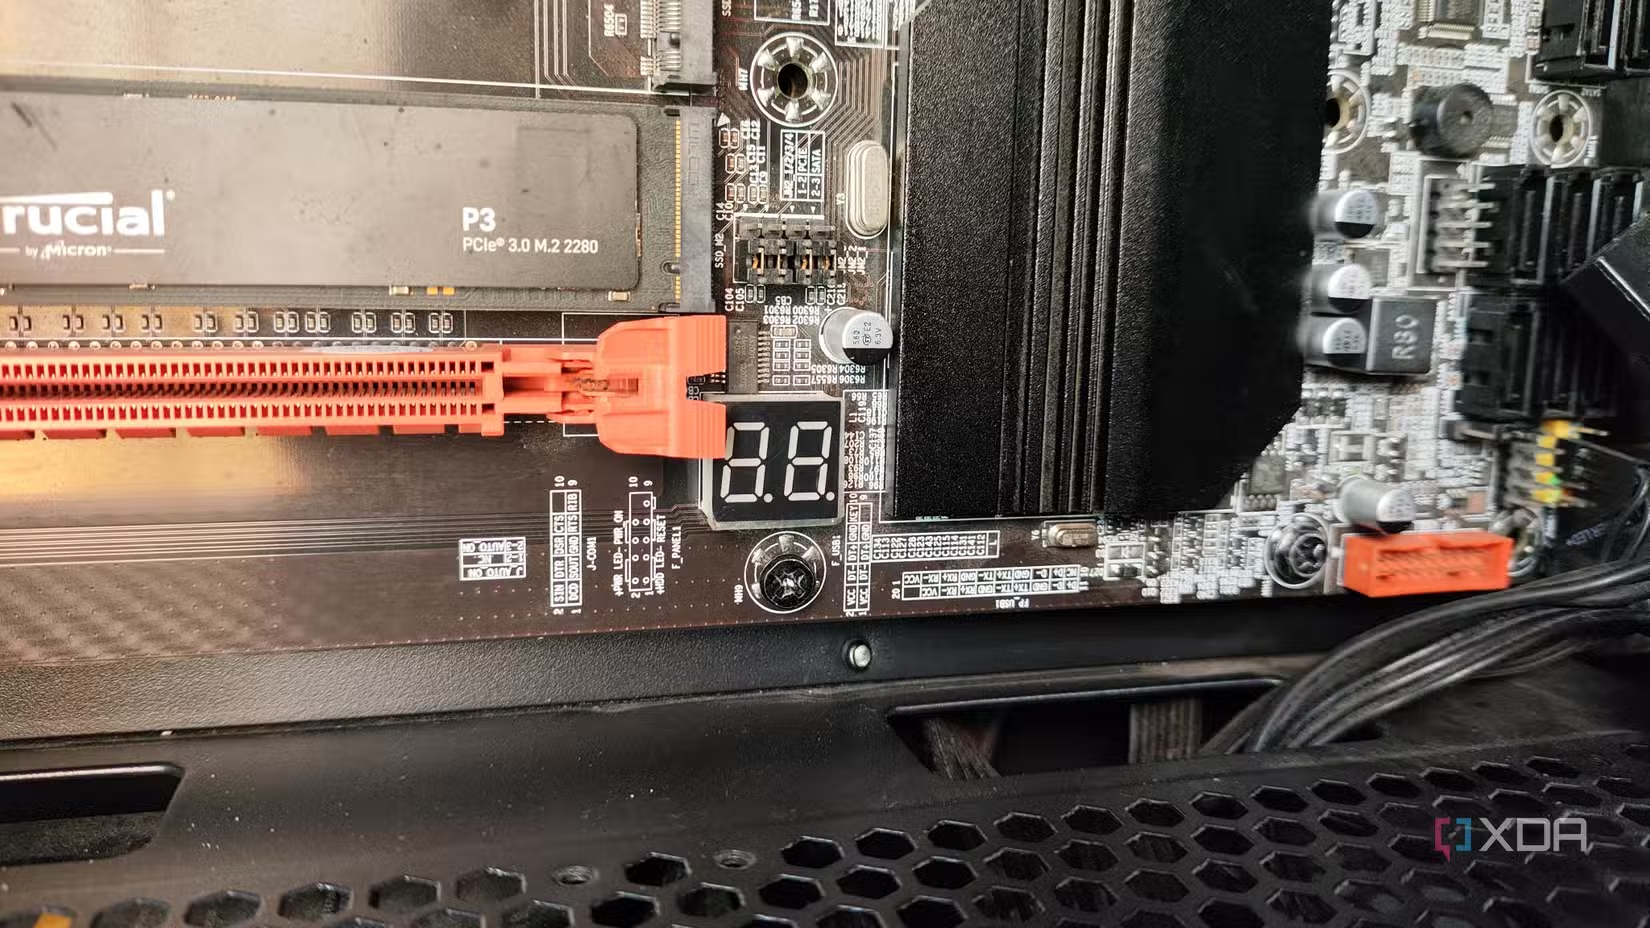
Give a stuck debug light at least sixty seconds before you act on it. Boards frequently pause briefly on VGA or DRAM during a normal boot, and reacting too fast leads to swapping parts that were never the problem.
GPU sag: the slow kind of damage
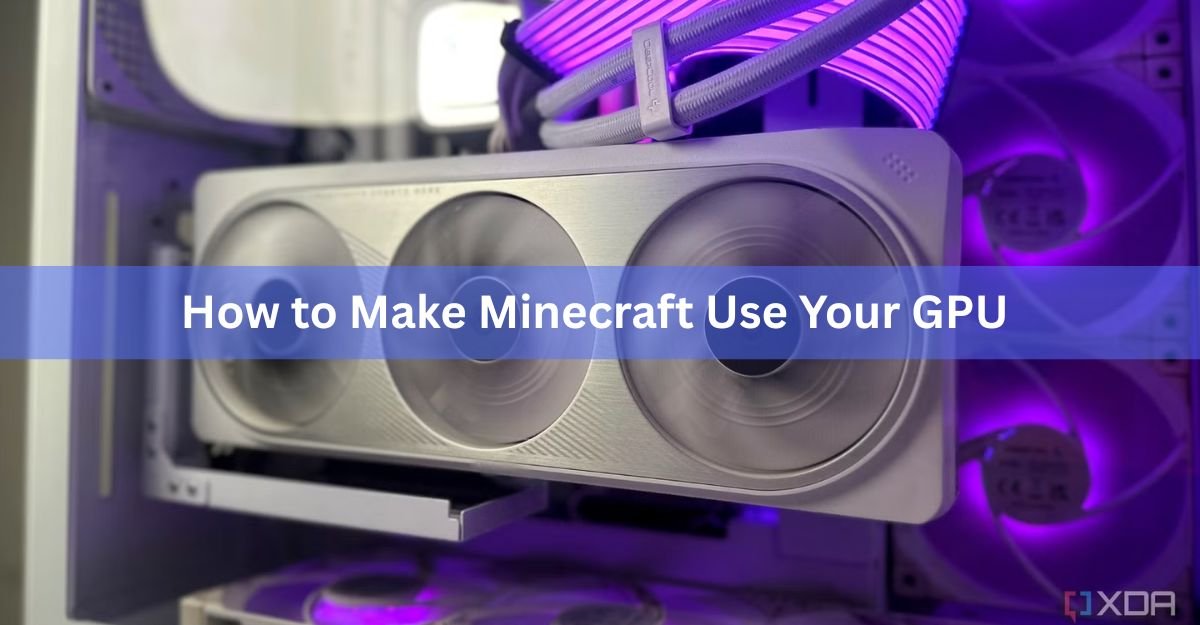
Not every problem shows up as a sudden failure. A heavy card that sags at even a mild angle for months is putting continuous mechanical stress on the same solder joints that carry its electrical signal. The PCIe slot was designed to hold a card in place and pass data, not to act as a structural beam for a three-pound cooler hanging off one end. Over enough time, that constant flex can develop into hairline cracks in the board itself or in the joints anchoring the slot, which shows up later as intermittent signal loss, a card that only posts some of the time, or a connection that drops under vibration.
You do not need a repair shop to check for this. Look at the card from the side with the case open. If the far end from the bracket clearly droops lower than the end closest to the slot, that is sag, and the steeper the angle, the more stress the slot has been carrying. A commercial GPU anti-sag bracket that lifts the card back to roughly level removes most of that stress going forward, though it will not undo damage that has already happened. If you have been running a heavy card unsupported for a year or more and are now seeing intermittent display drops, sag-related fatigue is worth adding to your list of suspects alongside a straightforward slot failure.
What to do if the motherboard is actually damaged
If the visual inspection turned up scorch marks, melted plastic, or a slot with bent or missing pins, and the board still fails to post even with a known-good card in a different slot, the motherboard is the more likely point of failure. A repair shop can sometimes replace a single damaged slot or a blown capacitor, but the labor on that kind of board-level repair often costs close to what a new board of similar tier would run, so most people end up replacing the board rather than fixing it.
Before buying anything, double check that the GPU and PSU are actually fine using the cross-tests above, since a motherboard is the most expensive part to replace unnecessarily. If everything points at a single damaged slot and your board has a second one, you can also keep using the board with the GPU in the working slot while you plan a replacement, as long as that slot supports the bandwidth your card needs.
Preventing this next time
A support bracket under any card that visibly sags, even a cheap one, takes ongoing weight off the slot for the life of the build. Position it so the card sits level rather than lifted past straight, since over-correcting puts stress in the opposite direction.
A quality power supply with stable rails reduces the odds of a voltage spike reaching the card in the first place. Cheap or aging power supplies are a more common root cause of GPU stress than most people expect.
Handle installation carefully. Let the card drop straight down into the slot without forcing an angle, and make sure the latch clicks before you screw in the bracket. Most bent-pin damage happens during removal or installation, not during normal use.
Keep the system clean and well ventilated. Dust buildup raises operating temperatures for both the GPU and the board around it, and heat accelerates the same solder fatigue that sag causes mechanically.
Frequently asked questions
Can a bad GPU really damage a motherboard?
Yes, though it is uncommon. It usually happens through a short in a failing card’s power circuitry, physical stress from a heavy card sagging in the slot, or bent pins from a rough installation, not from normal everyday use.
How do I know if it’s the GPU or the motherboard that’s failing?
Boot the system without the GPU, using integrated graphics or none at all. If it posts normally, the GPU is the more likely problem. If it still fails to post, test a known-good GPU in the same slot to see if the board itself is at fault.
Is GPU sag actually dangerous or just cosmetic?
Mild sag is mostly cosmetic, but a card sagging at a steep angle for months can fatigue the solder joints under the PCIe slot over time. A support bracket that levels the card removes the ongoing stress.
What does a burning smell from my PC mean?
Shut the computer down immediately. A burning smell usually means a short or overheating component in the power path, and running the system further risks turning a repairable fault into a destroyed board or card.
Is it worth repairing a damaged motherboard or should I replace it?
For a single burnt slot or blown capacitor, professional repair is possible but often costs close to the price of a new board of similar tier, which is why most people replace rather than repair.
Conclusion
Start with a visual check of the slot, then boot without the GPU, then swap slots and cards to see where the failure follows. If the board posts cleanly without the card or with a different one, your motherboard is fine and the GPU needs attention instead. If the same slot fails no matter what you plug into it, and you can see burn marks or damaged pins, the board itself is the problem.
Related Post :
Steam Deck GPU Equivalent: Which Graphics Card It Matches
The Best GPU for Games Like Overwatch and Minecraft (2026)
CPU and GPU Temp: What’s Normal, What’s Too Hot, and How to Check